Adorable hand-painted reindeer mugs and matching saucers are just about as cute as it gets! The process of applying a template to a porcelain mug is simple enough for even the most novice crafter, and no drawing skills are required. Pair each mug with a homemade hot chocolate kit, and check everyone off your holiday gift list.

Video of the Day
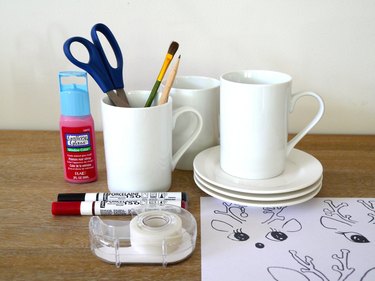
Things You’ll Need
-
Printed reindeer template
-
Pencil
-
Scissors
-
Tape
-
3 plain white porcelain mugs and saucers
-
Black porcelain paint pen 0.7 mm
-
Red porcelain paint pen 0.7 mm
-
Red glass paint
-
Small paint brush
-
Dish towel
-
Oven
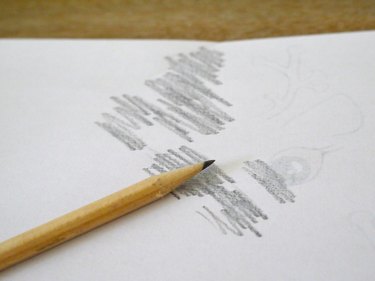
Step 1: Carbon the Template
Turn the template over to the backside. Using the edge of a sharpened pencil, draw completely over the backside of the reindeer images. This is called "carboning" the image.
Step 2: Cut Out the Template
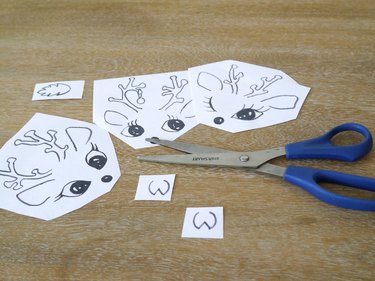
Now turn the template back over and use scissors to cut out all of the images.
Step 3: Transfer Images to Mugs & Saucers
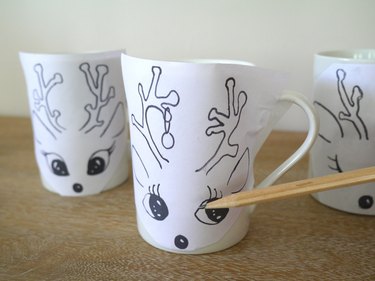
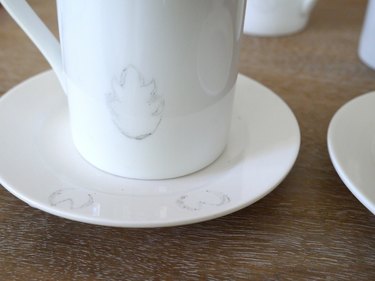
Fit the templates on the mugs so the reindeer noses are just above the bottom rim, and then tape them into place. Be sure to tape the tail in place on the back of each mug and two hooves in place on each saucer. Using medium pressure, trace over the template with pencil. The graphite on the back of the template will transfer to the mug and make a ghost image.
Tip
You can use a template more than once. Just re-carbon the backside with pencil before each use.
Warning
Since porcelain pens are not food safe, be sure not to draw anything around the lip of the mugs or inside the mugs.
Step 4: Remove the Templates
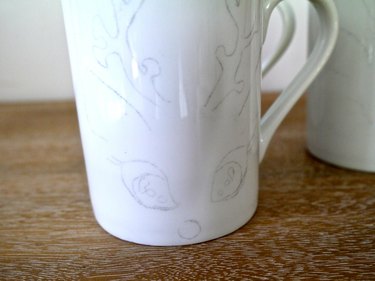
Carefully remove the templates from the mugs. The image from the template will be transferred to the mug. Now you are ready to outline the drawing with a porcelain pen.
Step 5: Trace Images with a Porcelain Pen
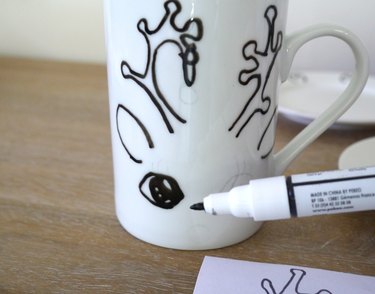
Trace over the transferred image with the black porcelain pen. Use the red porcelain pen to color in one of the reindeer noses to make Rudolph, and the ornament hanging from the antler.
Tip
It's a good idea to practice on a piece of paper before you begin tracing the image, just to see how the pen flows. If you have a spare saucer or plate, even better! It is also recommended to keep a copy of the template handy as a reference while tracing. If you make a mistake, simply wet a cotton swab tip with water and wipe away the ink.
Step 6: Paint Blush on Cheeks
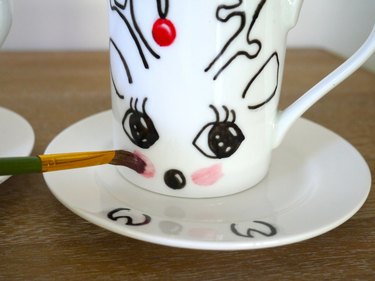
Use a paintbrush to apply a small amount of red glass paint to the cheeks of the reindeer. The glass paint works nicely just to give a thin layer of blush. Rudolph can go with or without blushed cheeks.
Step 7: Set Aside to Dry
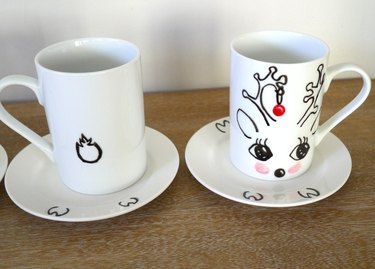
Once you are finished, set the mugs and saucers aside to dry for 24 hours before moving on to the baking step.
Step 8: Bake the Mugs & Saucers
Once the mugs have dried for 24 hours, use a dish cloth to wipe away any excess pencil marks from the mugs and saucers. Then, place them in a cool oven. Set the temperature at 350 degrees, and set the timer for 50 minutes.
Once the timer goes off, turn the oven off and allow the oven to completely cool before opening the oven. The curing process requires a steady temperature increase and then decrease, so resist the urge to open the oven while they bake.

Once the oven is completely cool, remove your mugs and enjoy a cozy cup of peppermint hot cocoa, or wrap up the matching sets as gifts!

Tip
Gentle hand washings are highly recommended to prolong the life of your mugs and saucers.


