


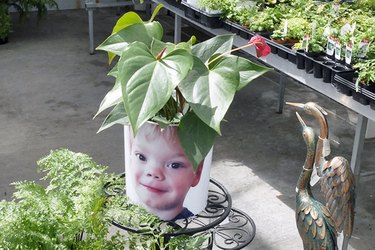
Get the whole family involved in creating these charming photo planters. They are inexpensive, easy to put together, and make a great gifts.
Things You’ll Need
-
Umbra Mini trash can or similar sized container
-
Clear adhesive backed vinyl
-
8 x 10 photo
-
Scissors
-
Tape measure
-
Craft knife
-
Potting soil
-
Plants
Step 1: Gather Supplies
You can find clear adhesive backed vinyl in most craft or hardware stores. We used an inexpensive Umbra Mini trash can, but if you can't find that specific one, look for a 1.5 gallon container with straight sides.

Tip
If you have trouble finding the adhesive backed vinyl, check the drafting area of the craft stores or the shelf liner displays at a hardware store.
Step 2: Attach the Photo
Measure the height of the container, which should be between 8 and 9 inches.
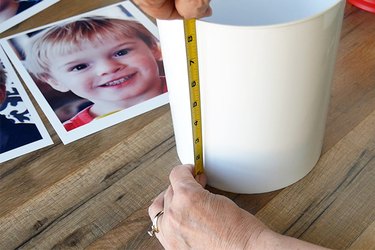
Mark and cut the adhesive backed vinyl 1/2 inch wider than the height and about one inch longer than the circumference of the container.
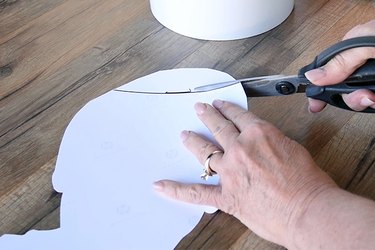
Trim the photo to the edges of the face and hair. Cut the photo from the top of the head to the height of the container.

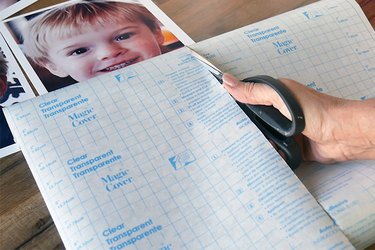
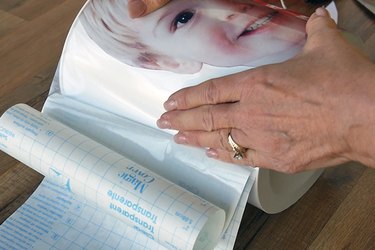
Lay out the adhesive backed vinyl with the adhesive side up. Peel back the lining layer about half the distance of the strip.
Carefully place the photo, image side down, onto the exposed adhesive near the middle of the strip. Start at the factory edge of the vinyl and roll the image down in a smooth motion.

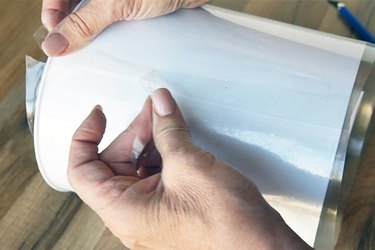
Lay the trash can on its side and line the top edge of the vinyl along the top lip of the trash can. Hold the vinyl tight and smooth down the adhesive working from the photo out toward the back from both sides.
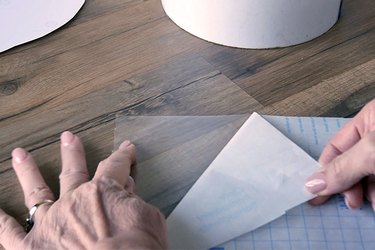
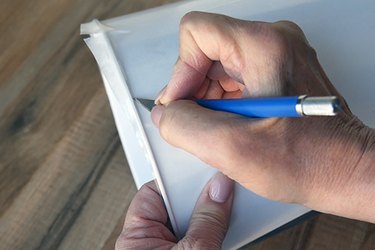
Work the vinyl down toward the back and overlap the seam. Using a sharp craft knife, cut through both layers of vinyl. Use firm pressure, but not so much as to cut into the plastic container.

Peel off the excess top layer of vinyl, lift the edge and peel off the bottom layer of excess vinyl. This process of "double cutting" leaves a perfect seam.
Using a craft knife, trim excess vinyl from the top and bottom edge of the container.

Step 3: Select Plants
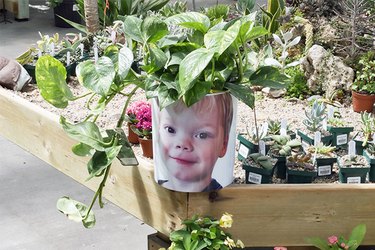
Visit a nursery and let the array of plants inspire your imagination. Take your container along and try out a variety of options.
Step 4: Plant Your Purchases
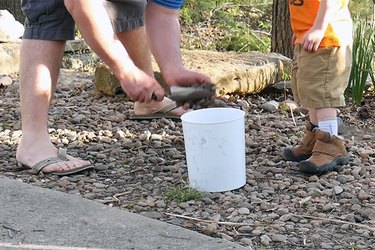
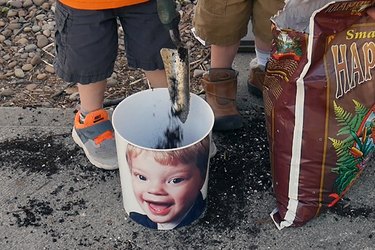
Fill the bottom of the container with small rocks or gravel. This is a great step for the little ones to participate.
Fill the container with potting soil.
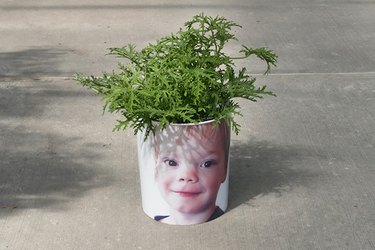
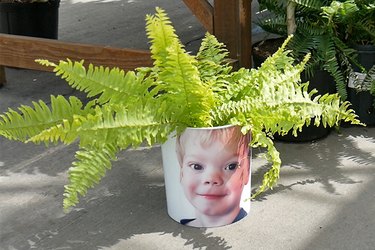
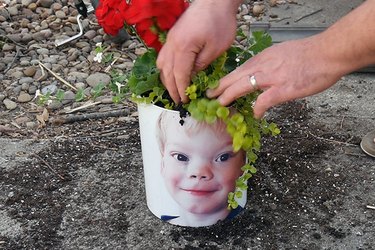
Place your plants into the pots and fill remaining area with more potting soil. Set the plant into the pot it protrudes like hair from the head of the photo. Water thoroughly.


")


