


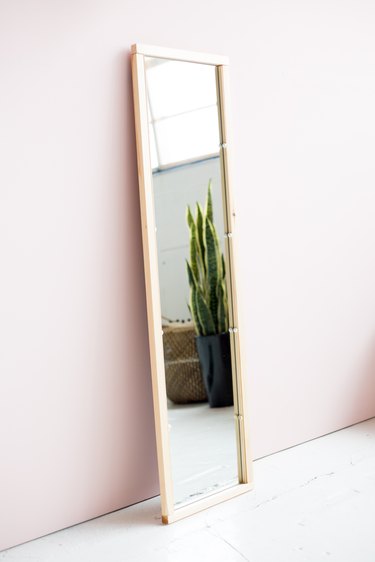
Sometimes, finding space for a wall mirror can be a little tricky. Freestanding mirrors can be a great alternative to reorganizing your room in order to find wall space for a large mirror. Because the mirror in this project is portable, you can position it wherever you can best take advantage of the light, and when you move, pack it up and take it with you. With this mirror stand you can find the perfect light and take everything you need with you. It's total freedom, at least in a decorative way!
Video of the Day
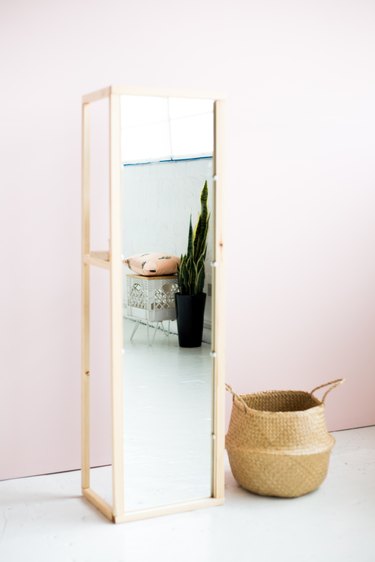
The project will be built in two phases. First, you'll build a frame for the mirror itself. Then, you'll build two perpendicular leg units that will extend from the back of the mirror. The leg units will both support the mirror and hold a shelf to store makeup, decorative items, and other lightweight trinkets.
Things You’ll Need
-
1 x 1 1/2 inch pine wood strips, 12 feet long (2)
-
3/4-inch pine corner molding, 12 feet
-
Tape measure
-
Saw
-
Sandpaper (120-grit)
-
Full-length mirror, 60 inch x 14 inch
-
Wood screws (3/4 inch and 2 1/4 inch)
-
Screw covers (to match 3/4-inch screws)
-
Screwdriver
-
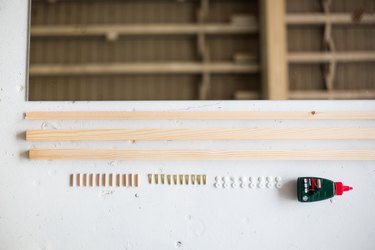
Wooden dowels (12)
-
Drill and set of twist bits
-
Wood glue
-
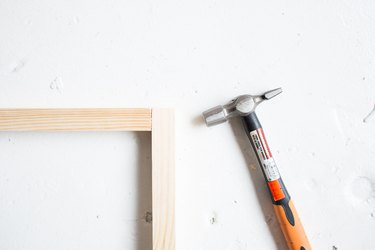
Hammer
-
Small metal corner brackets (8)
Framing the Mirror
Step 1
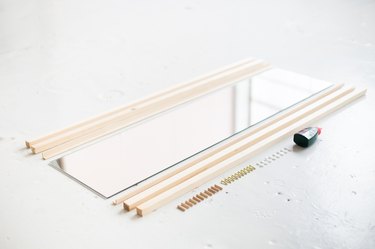
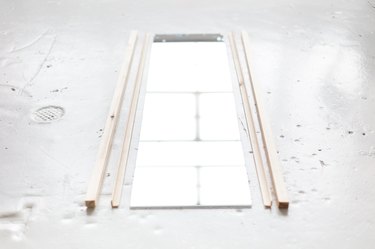
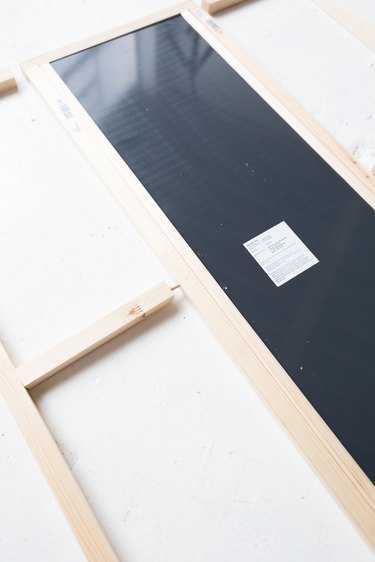
Measure and cut two lengths of L-molding and four pieces of 1 x 1 1/2 inch wood strip to the same length of your mirror. Sand the ends and edge to remove any splinters.
Step 2
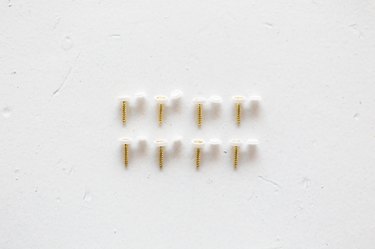
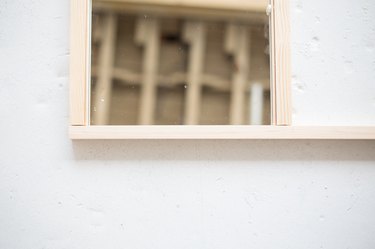
Thread eight 3/4-inch screws through the holes in the screw covers. Place one side of the corner moldings strip against the inside face of one of the wood strips, so that the open "L" faces inward. Measure and mark the location for four screws on each side, spacing them evenly along the strips.

Step 3
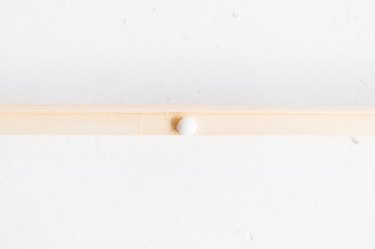
Pine is a softwood, which means you should be able to drive the screws in by hand. Secure the corner molding to the inside face of the wood strips, using the 3/4-inch screws you just placed screw covers on. Make sure the gap between the screw head and the bottom of the corner molding is wide enough to fit the mirror when it is later installed. Close the caps over the screws.
Step 4
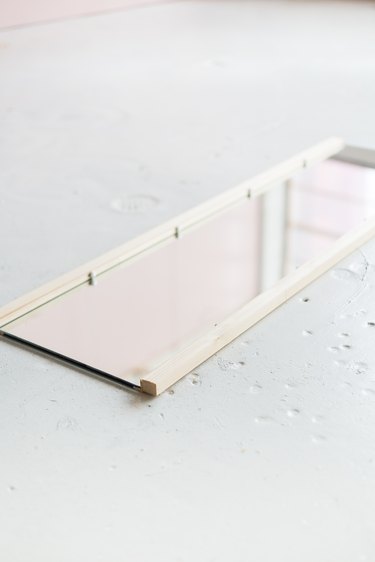
Repeat this step to create an opposite side piece. Now slide these pieces onto each side of the mirror so the ends are flush with the bottom and top of the mirror.
Step 5
Measure and cut a piece of 1 x 1 1/2 inch strip for both the top and bottom of the mirror, sized so that the ends are flush with the outside edges of the long pieces (in cabinetry work, these horizontal top and bottom pieces of a frame are referred to as "rails," while the vertical side pieces o a frame are known as "stiles"). When you measure, make sure to hold the side stiles tightly against the mirror, to ensure that you measure correctly for the top and bottom rails.
Sand the edges of these top and bottom rails to smooth them. Take the mirror out of the frame and drill 1/8-inch diameter pilot holes through then ends of the bottom rail and into the end grain of the side stiles. Now, secure the bottom rail to the vertical stiles with long screws.
With these very small wood strips, pilot holes are a must to avoid splitting the wood with the screws.
Step 6
Drill similar pilot holes in the top rail, but before securing it to the side stiles with the screws, slide the mirror into place. Then screw the top rail into place to finish the frame. This is best accomplished with a helper to hold the frame and mirror in place while you secure it. You now have completed the framed mirror.
Making the Support Legs
Step 1
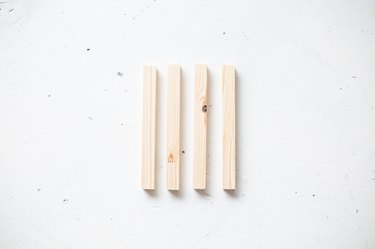
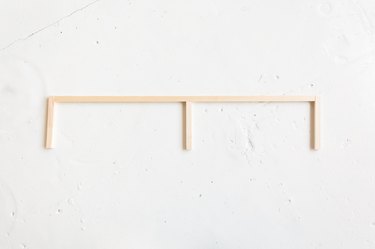
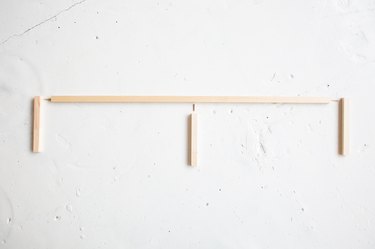
For the support leg unit for your mirror, you will construct two large E-shaped assemblies, which will extend out from the back of your mirror, and hold a display shelf in the middle. Begin by cutting four pieces of 1 x 1 1/2 inch wood, 4-inches long. These will be the top and bottom horizontal pieces of the leg units. Cut two more pieces, 3-inches long; these will be the center supports for the leg units, and will support the shelf running across the middle.
Step 2
Position the 4-inch pieces against the top and bottom of the long vertical support leg pieces (you cut these in step 1 of "Framing the Mirror"). The edges should be flush. Mark the location of the dowel joints that will hold the pieces together. Choose a drill bit the same diameter of your dowels, and drill shallow dowel holes into both the ends of the short horizontal pieces and into the end grain of the long pieces. Test fit the pieces to make sure the joints fit snugly (if not, you may need to deepen the dowel holes).
Position the 3-inch center piece against the long support leg piece, just above the center of the support leg. Make a reference mark to show where the dowel joint will go.
Step 3
Drill a dowel hole into the grain end of the 3-inch-long center support, and into the edge of the long strip. Test fit this joint with a dowel, as you did before. Disassemble all the dowel joints, then coat the dowels with a small amount of wood glue and reassemble the leg unit. You may need to use a hammer to get the joints to fit snugly.

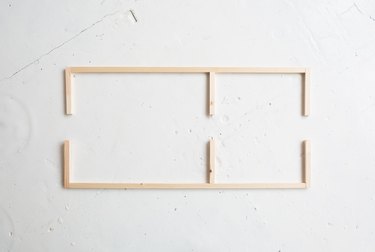
Step 4
Repeat steps 1 to 3 to create the other support leg unit. Now you will attach the support legs to the mirror frame. Begin by drilling dowel holes in the end drain of the open legs of the "E." Make very sure the holes are driven exactly parallel to the wood pieces. Test-fit the dowels into the holes.
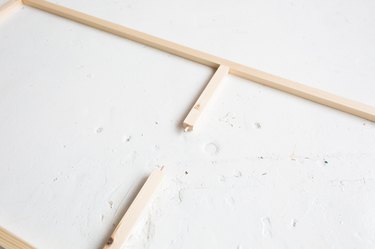
Step 5
Lay the mirror face down, and line the support leg units against the sides of the mirror frame. Lightly mark the location of the dowels on the mirror frame. Now drill matching dowel holes down into the back of the mirror frame. Make sure you don't drill all the way through the frame!
Step 6
Test fit the support leg units upright against the back of the mirror frame stiles. If the fit is correct, disassemble the joints, apply a small amount of wood glue, and reassemble. Now, reinforce each joint with corner brackets, secured to the mirror frame and support leg assemblies with 3/4-inch screws.

Step 7
Once you've done this on both sides, your mirror should be almost ready! Carefully, lift the mirror up and into place. Your mirror will be a bit front-heavy at this point, so take care not to bump it.

Step 8
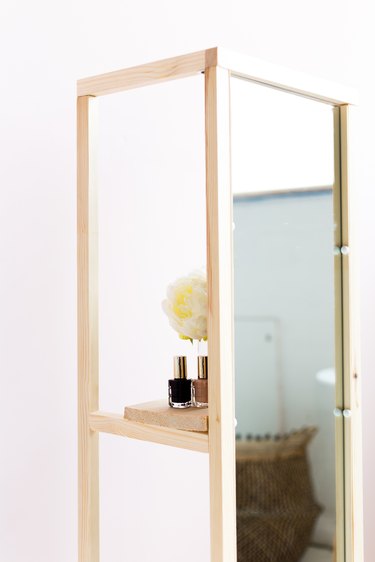
Measure and cut a piece of pine lumber for the shelf. Position the shelf across the center supports, and use two more corner brackets to fix in place against the center supports.

If built properly, the mirror will stand firm and be fairly stable, but if you do bump it, the weight of the mirror might cause it to fall forward. If your mirror is going to be placed somewhere where it might be knocked over or if you have young children or active pets, add a second shelf to the bottom of the mirror and weigh it down with something heavy to prevent tipping.
Warning
If you have young children or active pets, you should anchor the support legs directly to the wall, using the same type of brackets used to secure the leg assemblies to the mirror frame to avoid injury.


