If you're remodeling a stairs landing, one way to add an impression of space and light is to use a half wall at the top of the stairs. The half wall will provide a safety margin but allow light and air to flow to the upstairs more easily. The first part of building a half wall is the framing of the wall. This is when the underlying structure of the wall is constructed, prior to finishing the half wall with drywall and a top rail.
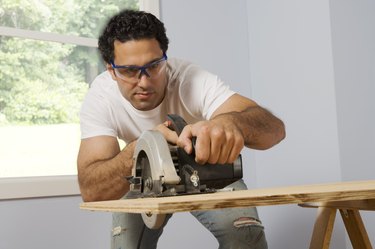
 A circular saw is one of the tools you’ll need when framing a half wall for the top of your stairs. Image Credit: Jupiterimages/Comstock/Getty Images
Video of the Day
Things You’ll Need
-
Circular Saw
-
2-By-4-Inch Lumber
-
Tape Measure
-
10D Nails
-
Lag Bolts, 4-Inch
-
Socket Wrench
-
Hammer
-
Drill
Step 1
Measure the distance from the wall where you'll anchor the half wall to the top of the stairs where the wall will end. Cut two 2-by-4 boards with a circular saw to match the distance. These boards will be the top and bottom of the frame wall and are called the top and bottom plates.
Step 2
Cut a series of 2-by-4 boards with a circular saw to 32 inches in length. You'll need one board for each 16 inches of the wall's length. These are the vertical studs of the frame wall.
Step 3
Lay the top and bottom plates on the floor, parallel to each other and resting on the narrow edges. Arrange the vertical studs between the top and bottom plates, perpendicular to the plates, starting at one end of the plates and spaced 16 inches apart from the center point of each board. Place the final stud even with the ends of the plates. Nail the studs to the plates with two 10d nails at each point where they meet.
Step 4
Raise the wall and move it into position. Drill holes that are slightly smaller than the diameter of your lag bolts through the bottom plates and into the subfloor, halfway between each vertical stud. Insert the lag bolts into the holes and tighten with a socket wrench.
Step 5
Drill three evenly-spaced holes into the vertical stud against the wall. Insert lag bolts and tighten. The half-wall is now ready for finishing with drywall or wood paneling.
Warning
Wear eye protection when using power tools like saws and drills.


