Things You’ll Need
-
Sketch pad
-
Measuring tape
-
Graph paper
-
5/8-inch drywall
-
Circular saw
-
2-by-4 boards
-
Miter box
-
4-inch screws
-
Electric screwdriver
-
Nails
-
Wiring
-
Staple gun
-
Insulation
-
Drywall sections
-
Drywall tape
-
Joint compound
-
Sand paper
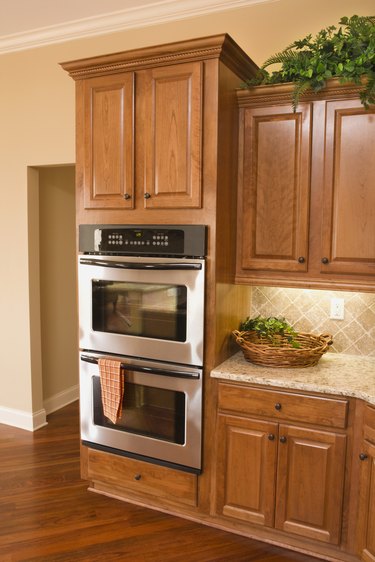
 Enclosed space above cabinets can hide wiring or plumbing Image Credit: Jupiterimages/Comstock/Getty Images
An enclosed soffit above cabinets gives the kitchen a well-crafted look. But, this area is also a good place to hide electrical wiring or utility pipes, for example. If the kitchen is located in an older home or in the basement, the soffit space, also known as a bulkhead, can cover heating duct work, water lines and other building elements. In newer kitchens, you can run wiring for recessed lighting inside the soffit area before covering with drywall.
Video of the Day
Step 1
Sketch the kitchen and cabinet space to create the soffit design. Allow a couple of inches to protrude over the cabinet fronts, if you wish. Measure the soffit space to design the actual framework in detail that will support the covered, finished box. Use graph paper to draw the framework details, allowing for the thickness of the drywall or other covering. Plan to use 5/8-inch thick drywall.
Step 2
Cut 2-by-4 boards to form the soffit box framework with a circular saw. Cut boards to fit the bottom plate, top plate and short studs forming the height of the box. Use a miter box to cut mitered joints and corners, so the outer edges of the framing have smooth, true surfaces. Install 4-inch screws with an electric screwdriver to secure the framework tightly, so it does not shift when it's lifted into place.
Step 3
Lft the soffit framing box over the cabinets with the help of one or more other people. Take care not to rest the framing on upper cabinets, because the weight can cause cabinets to pull loose from wall studs. Nail the soffit box into wall studs and ceiling rafters to situate it properly. Go back and install the framework to house wall framing and rafter boards using 4-inch screws, so the wall framing firmly supports all of the soffit weight.
Step 4
Run any needed wiring for recessed lighting or new plumbing lines through the open framework. Use a staple gun to install insulation on the back wall area or ceiling area, if the soffit is located on an outside house wall, for example.
Step 5
Cut drywall sections to fit over the framework with a utility knife. Nail sections to fit as precisely as possible, so there are as few gaps and seams as possible. Use drywall tape to cover the seams and add joint compound. Allow the joint compound to dry thoroughly before sanding. Add more joint compound, wait for it to dry and sand again. Repeat this process until the bulkhead section has a smooth drywall cover on all surfaces.


