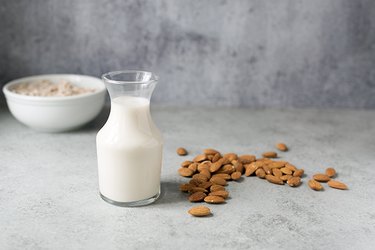
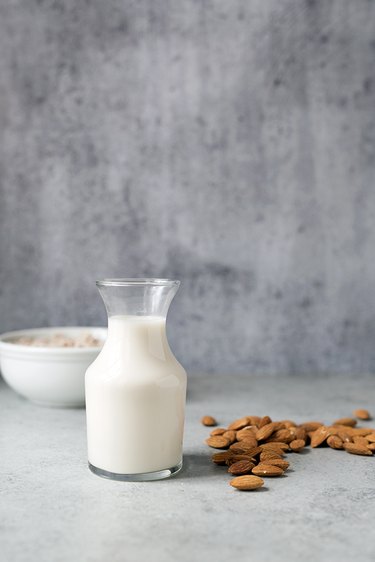
Non-dairy milk alternatives have become a huge industry in recent years. It's a great option for people with lactose intolerance or who prefer to avoid animal products. Almond milk is also very easy to prepare from scratch, and there are many benefits to making it yourself. For starters, commercial nut milks are full of additives such as preservatives and stabilizers. Also, homemade versions taste completely different (and in my opinion, much better). If you haven't tried making almond milk from scratch, here's everything you need to know.
Video of the Day
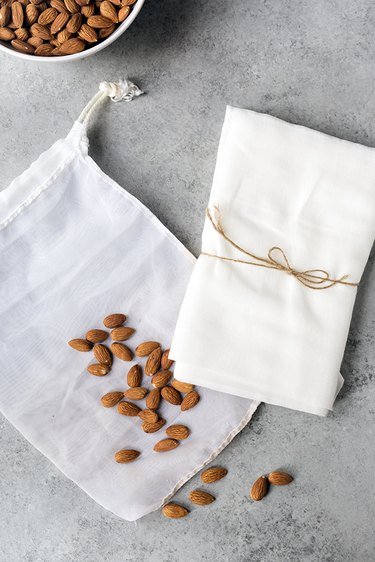
Things You’ll Need
-
1 cup raw almonds
-
3 cups filtered water + more for soaking
-
Blender
-
Cheesecloth or a nut milk bag
-
Colander or fine mesh strainer
Tip
There are two options for straining the milk as seen in Step 6: a nut milk bag or 2 to 3 layers of cheesecloth placed inside a fine mesh strainer or colander. If you're planning on making homemade almond milk on a regular basis, a nut milk bag is an inexpensive investment that will save time and money in the long run. It separates the liquid quickly and can be reused, whereas cheesecloth can only be used once.
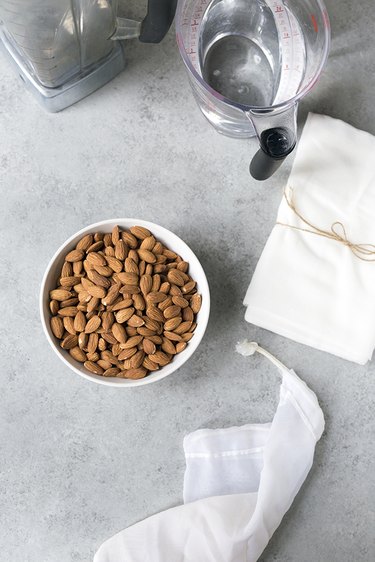
Step 1: Gather your Ingredients and Tools
Make sure to use filtered water and raw almonds for best results. This recipe can be scaled up or down using the same ratio. For a creamier milk, use a 2:1 ratio.
Step 2: Soak the Almonds Overnight
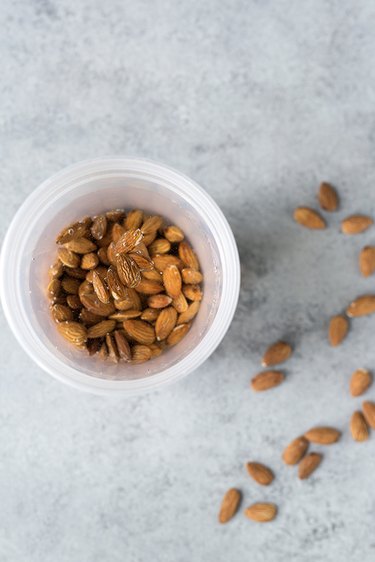
Place the almonds in a container with a tight fitting lid and cover with cold, filtered water by at least 2 inches. Place in the refrigerator and allow to soak overnight.
Step 3: Drain the Almonds
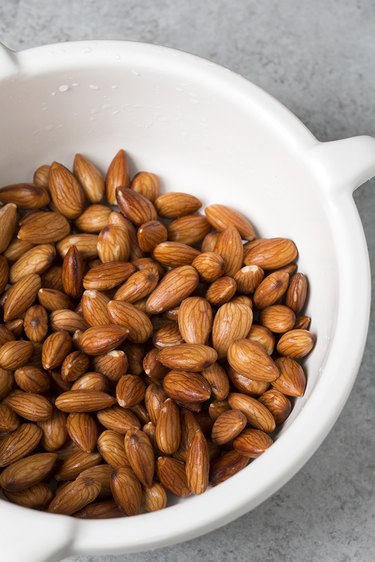
Drain the almonds through a colander or fine mesh strainer and give them a quick rinse.
Step 4: Add Almonds to Blender with Filtered Water
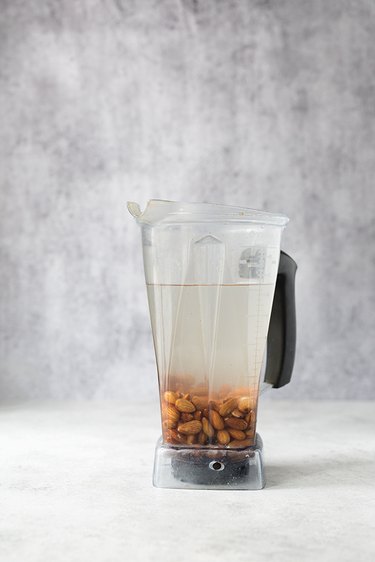
Place the almonds in a blender with 3 cups filtered water.
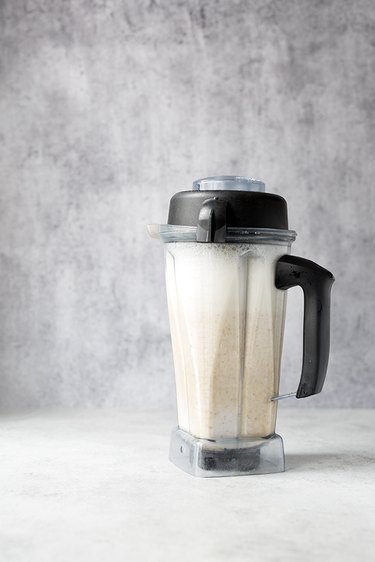
Note: this image shows 2 cups almonds + 6 cups water.
Step 5: Puree
Turn the blender on low for 20 to 30 seconds to chop the almonds, then slowly turn the mixer up to high speed and puree until the mixture is white and frothy.
Step 6: Strain
Option 1: Nut Milk Bag
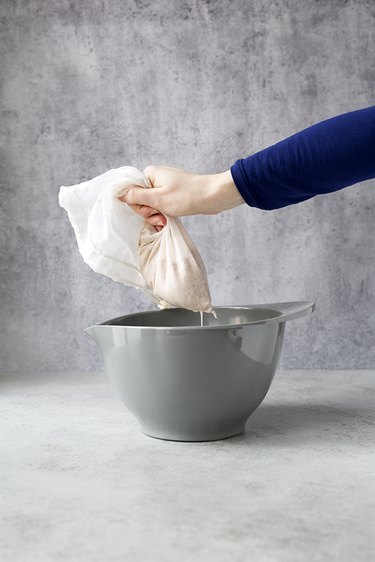
If using a nut milk bag, place the bag over a large bowl. Pour the liquid into the bag, and then thoroughly squeeze to separate the milk from the pulp.
Option 2: Cheesecloth
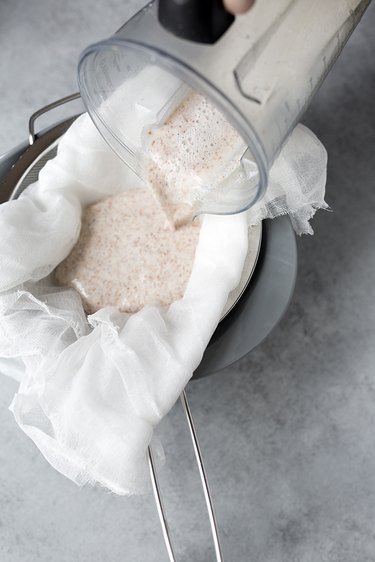
If using cheesecloth, place 2 to 3 layers in a fine mesh strainer set over a bowl. Pour the mixture into the strainer. Carefully wrap up the cheesecloth and squeeze to separate the milk from the pulp.
Tip
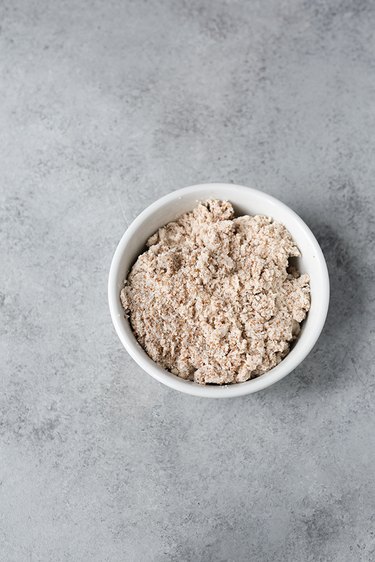
You can dry out the leftover almond meal to use in baked goods. Turn the oven on its lowest heat setting, spread the pulp in a thin layer on a baking sheet, and bake until dried out.
Tip
Since homemade almond milk does not contain stabilizers, natural separation will occur. Shake or stir before serving.
Tip
You can substitute the almonds with other raw nuts. Excellent options include cashews, pistachios, macadamias, and hazelnuts.
More Recipes by Jennifer Farley
For more delicious drink recipes, check out some of these favorites:
Coffee Hack: How to Use a French Press to Make Espresso

Homemade Irish Cream Liqueur Recipe

Add This Homemade Orange Liqueur Recipe to Your Bar Cart

Pomegranate Gin and Tonic Cocktail Recipe


