


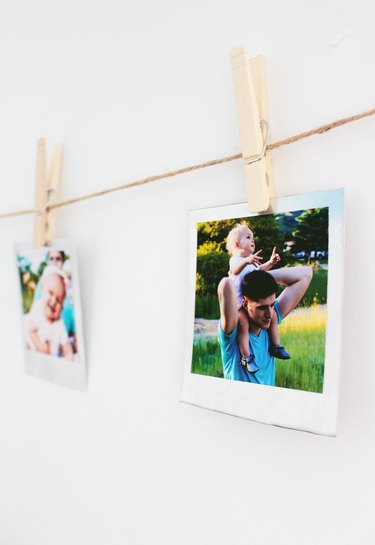
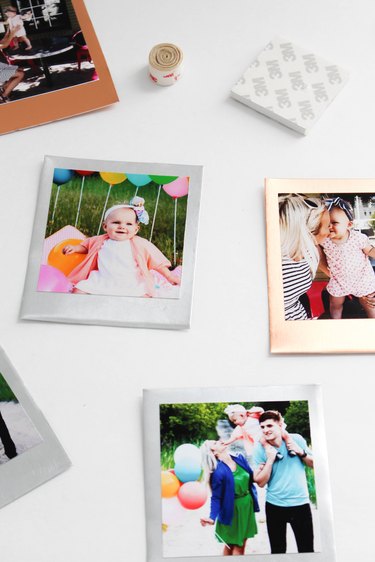
Though the camera itself is outdated, the classic look of an instant-print Polaroid photo is still beloved the world over. This beautiful metallic version offers a modern take and is easy to DIY with just one simple tool and some thin sheet metal. Get ready to jazz up your photos to display-worthy status!
Video of the Day
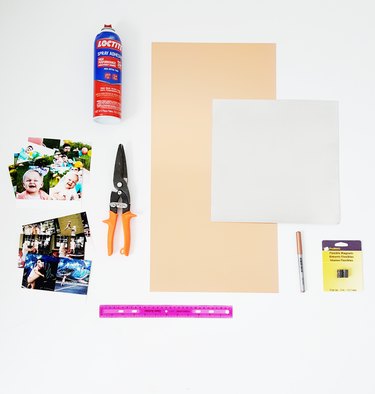
Things You’ll Need
-
Sheet metal 24 gauge or smaller
-
Tin snips
-
Permanent marker
-
Photos
-
Adhesive
-
Ruler
-
Protective gloves (optional)
Metal sheets in aluminum and copper are used here, but any metallic finish will work. This project can also be completed using a thinner craft metal, in which case you can forego the tin snips for regular scissors. It won't be as sturdy, but it will still be hangable and just as beautiful.
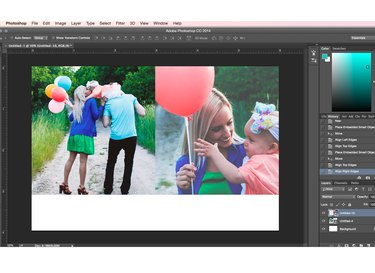
Step 1: Print and Cut Your Photos
On your computer, adjust or crop your digital photos to 3-by-3 inches. Paste two of them side by side onto a 4-by-6-inch document and repeat the process until you have all your photos in this format. Get all those lovely shots printed at a photo center, then cut them down to individual squares. You can, of course, lay multiple photos out on a bigger canvas to save time when printing.
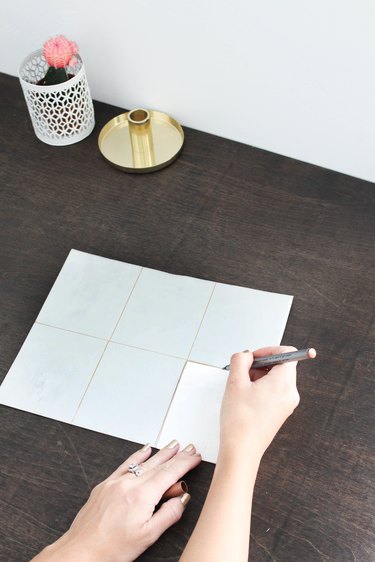
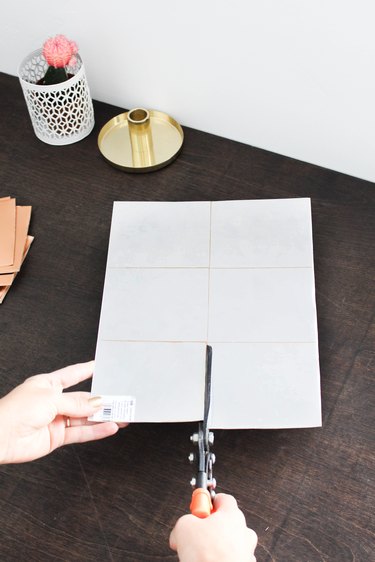
Step 2: Trace Lines on the Metal
Measure out a 3.5-by-4.25-inch rectangle repeatedly on your metal sheet, or once on a sheet of paper and use that as a template to mark your metal. You can use a permanent marker because it will dry but can be washed away later (yeah, so much for permanent!).
Step 3: Cut the Metal
Use your tin snips to cut the metal following your guides. Be extra careful in this step or wear protective gloves. While the sheets are not super sharp, it doesn't hurt — no pun intended — to take precaution as they're not your innocuous printer paper.
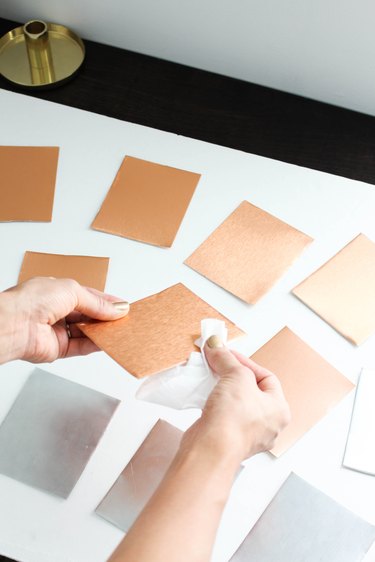
Step 4: Clean Up Smudges
At this point, you can wipe away visible marker lines with a wet tissue and straighten out any slight bends in the metal.
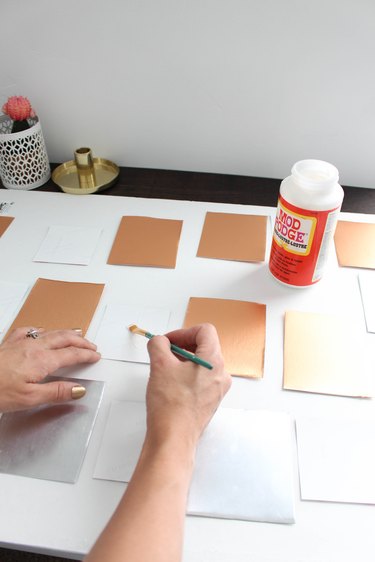
Step 5: Adhere Your Photos
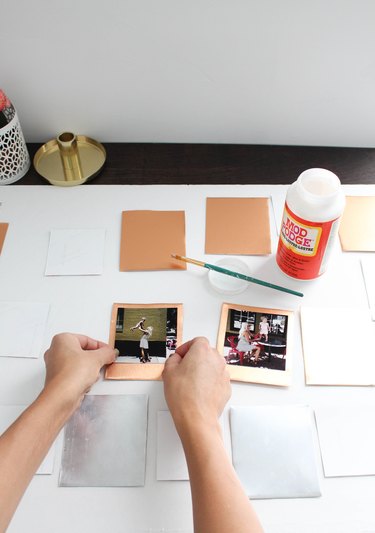
Lay out your photos on each metal square just to get an idea, then turn them all upside down next to each metal frame. Spread the glue (Mod Podge or spray adhesive both work, so use what you have) on the back of a photo and attach it to the metal frame.
Use your trusty eyes to make the top and sides even around the photo, but there should be roughly 1/4-inch of the metal visible on all three sides, with a lot more space left at the bottom. Let the glue set for a few minutes and your photos are ready for display!
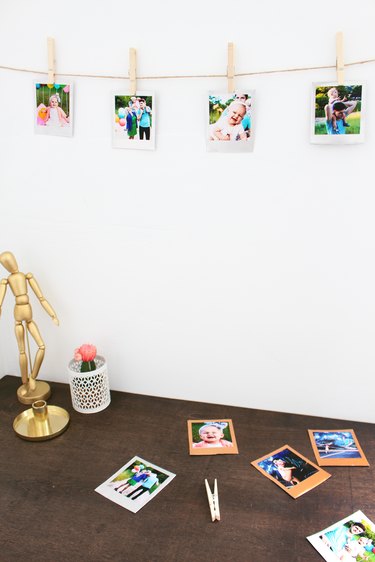
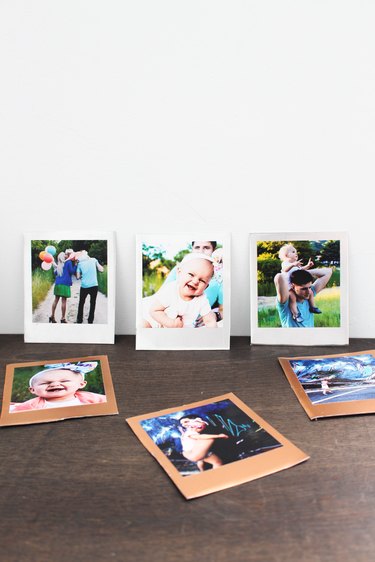
Step 6: Display Your Photos
There are tons of ways to show these off, but here are some suggestions.
Hang your photos using twine and clothes pins for a garland effect.
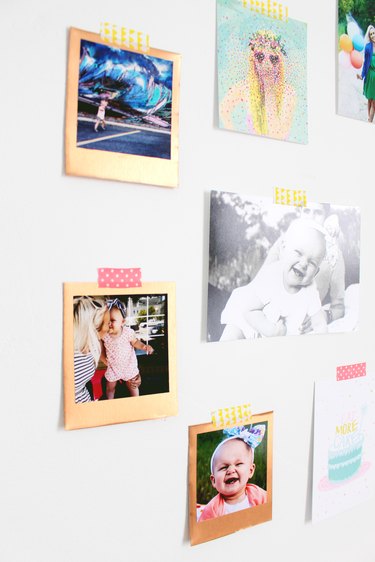
Stick them on a wall with double-sided tape on the back, plus a little fabric tape up top for decorative measure.
Casually prop them against a wall on your work desk, perfect for centering you on those stressful days.
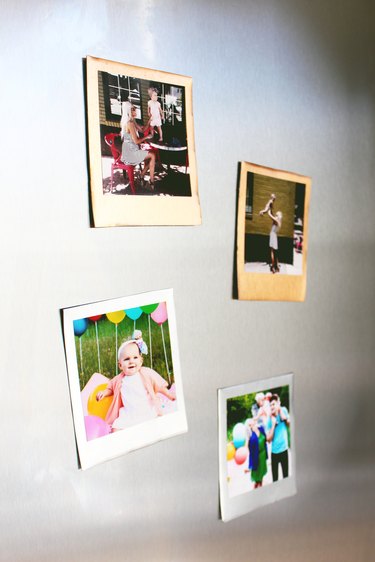
Glue magnets to the back and show them off on your fridge because why not?


