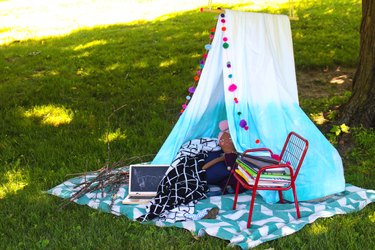
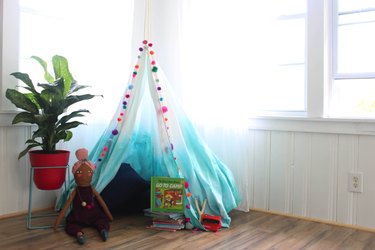
When it comes to independent playtime for little kids, forts take the cake. They can be used for a quiet reading nook, a spot for an afternoon nap, shade from the hot sun or simply a place where imagination is allowed to grow. And for parents, the process of making a canopy can be just as flexible: You can use a variety of fabrics and embellishments, and when it’s complete, you can also choose where to place it in your home. This fabric canopy is easy, affordable and a fun way to turn any corner into a magical hideaway!
Video of the Day
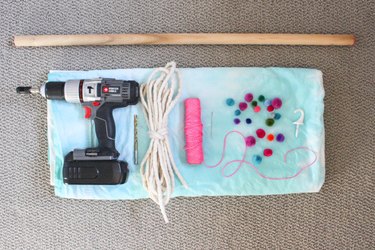
Things You’ll Need
-
Durable cotton rope
-
Dowel (1 inch diameter, 2 feet long)
-
1 king-size flat sheet
-
Ceiling hooks
-
Drill and drill bit (1/4-inch)
-
Pom-poms
-
Rope (14 feet long)
-
Sewing needle
Step 1: Start With a Sheet
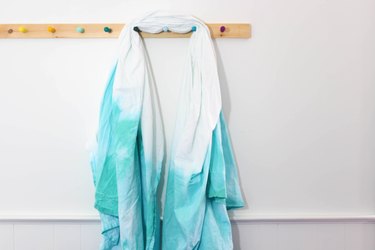
Bed sheets are an easy material to use to create a canopy without having to worry about sewing. This project uses a white king-size sheet that has been dip-dyed turquoise. Another fun option would be to find a vintage sheet at a thrift store or flea market for a unique look.
Step 2: Drill a Hole Into the Dowel
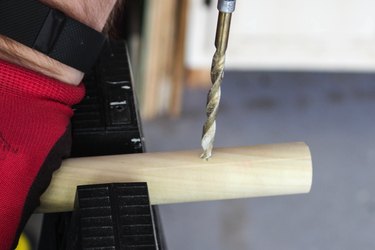
Using a drill and a 1/4-inch drill bit, create a hole two inches from the end of the dowel. Repeat on the opposite end.
Step 3: Install Ceiling Hooks
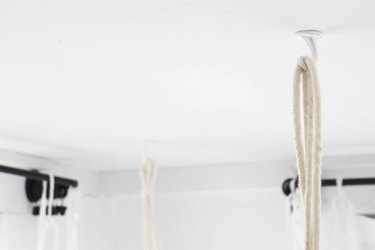
Cut the rope in half and insert it through the holes in the dowel before tying the ends with a slip knot. Next, install ceiling hooks where you want the canopy to hang. Hang the dowel by attaching each end of the rope to the ceiling hook.
Step 4: Drape the Sheet and Decorate
Using a sewing needle, string several pom-poms onto a thread to create a little extra decoration. Then, drape the sheet over the dowel.

Step 5: Take the Fun Outside
Alternatively, you could also tie the rope to a branch on a tree and create an outside oasis for a special afternoon. Just be sure to fill the space with pillows, toys and blankets for an inviting and cozy spot to create, imagine and play!
