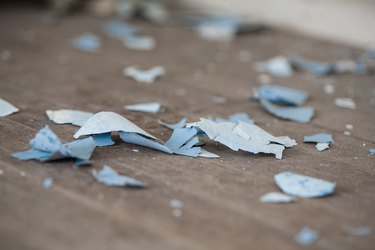
 Old flaking lead paint is a serious health hazard. Image Credit: XiFotos/iStock/GettyImages
The inclusion of white lead in paint dates to Colonial times. Lead accelerates drying, improves sheen and durability and resists moisture. One important drawback, however, is that lead is toxic and can seriously damage the health of people, especially children, who live in a house with lead paint. When it recognized the health issues associated with lead, Congress passed the Lead Poisoning Prevention Act in 1971, and the United States Consumer Product Safety Commission prohibited the inclusion of lead in paint in 1977. Neither Congress nor the CPSC could do anything about paint that had already been applied, so any house that predates 1978 could have lead paint, which may be hidden under coats of newer paint. You can test for lead paint yourself. It’s best to leave removal to licensed pros, but you are allowed to do this work yourself, as long as you own the property. The main thing to remember is to avoid making dust.
Video of the Day
Tip
Be cautious about extensive sanding of previous coats of paint when you are repainting room walls or woodwork. While the immediate newer layer of paint may be lead-free, deep sanding potentially can grind through to older layers of paint that may contain lead. Sand very moderately, if at all, when you are repainting.
Warning
If you suspect a child has ingested lead paint, you should have their blood tested to determine the level of lead present. If fact, the EPA in recommends that all children one and two years of age be tested, as well as any child who may be at risk.
Why Removing Lead Paint Is Important
As paint ages, it tends to crack and peel, a process exacerbated by moisture and wood rot. Flecks of paint can fall on the floor or on the lawn from where they can be picked up and sampled by pets and inquisitive children. In some cases, very old paint can turn to powder that can become airborne.
Ingesting lead paint flakes or dust can cause serious health issues. Lead can damage the brain, kidneys and blood, and can cause behavioral problems such as learning disabilities and seizures. Lead poisoning can also be fatal. This is of obvious concern to householders, especially those with young children, and it’s also a liability issue for landlords.
Testing for Lead
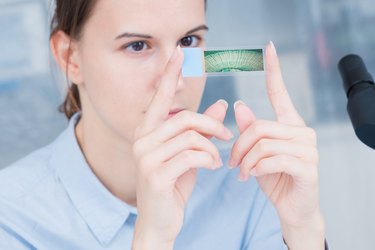 Home test kits can detect lead in paint, but not all are 100 percent reliable. Image Credit: luchschen/iStock/GettyImages
Home test kits are available at hardware stores or online, but these are not always reliable. They use chemicals that change color in the presence of lead, and if the paint is a similar color, it’s easy to get a false reading. Moreover, if a surface has several coats of paint, you have to uncover the layer of paint that contains the lead before you’ll get a positive reading. The EPA recommends only three of the many home test kits available, and one of those is available only in Massachusetts. The other two are Leadcheck, manufactured by 3M, and D-Lead from ESCA Tech, Inc.
Removing Interior Paint
 Control dust by keeping surfaces wet. Image Credit: solar22/iStock/GettyImages
Before stripping lead paint from any interior surface, whether it’s a wall, window or woodwork feature, it’s essential to move all the furniture out of the room and cover the vents and outlets with plastic. Lay a 6-mil plastic drop cloth on the floor, extend it all the way to the baseboards, and tape the edges with masking tape. Be sure to put on a half-mask respirator with a P100 filter and goggles before starting work. Disposable paper booties are also a good idea.
To avoid raising dust, the paint should be wet before you agitate it. If you use a chemical stripper, it will provide enough moisture, but if you’re just scraping or sanding loose paint, wet the surface down first with a spray bottle of water. Because the surface is wet, you’ll need to use wet/dry sandpaper for sanding. This type of sandpaper is usually black, and you can buy it in any store that sells regular sandpaper. Clean up all sanding dust with a HEPA vacuum cleaner.
You can also remove lead paint using an infra-red paint stripping tool. This process doesn’t raise dust and is probably the fastest and most efficient way to strip any type of paint. You can purchase a small handheld infrared stripper that’s just the right size for interior molding, windows, and other woodwork, and you can also buy a larger model that’s better for walls.
Removing Exterior Paint
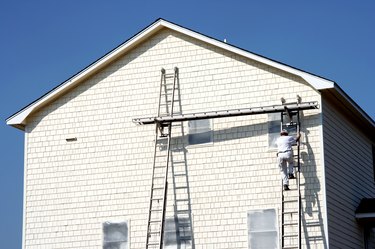 Erecting scaffolding may take time, but it’s safer than using ladders. Image Credit: Joe_Potato/iStock/GettyImages
The same cautions about raising dust apply when removing lead paint from siding and exterior, but since outdoor surfaces are larger and more exposed, a spray bottle is inadequate for keeping them wet. In most cases, you’ll probably want to use stripper anyway, which does not create dust. Be sure to cover the shrubs and lawn in the area and to put plastic directly underneath you to catch the paint and stripper that come off the wall. Collect all of it so you can bag it and dispose of it as hazardous waste in compliance with local regulations. After scraping off all the stripper, scrub the wall by hand to remove residue. If you need to sand, do it while the wood is still wet. If you choose to use a chemical stripper, a nontoxic product called RemovAll is an excellent choice. Spray it on, wait overnight, and peel the paint off the next day with paint scrapers.
Infra-red strippers provide a great alternative to chemical strippers, especially on a large surface like siding. You typically hold the tool over an area for 5 to 10 seconds until the paint bubbles, then scrape off the heated paint with a pull scraper. Because you have to get right next to the wall to use this tool, you should erect scaffolding. This adds an hour of prep time, but you’ll make that up by not having to move a ladder, and you’ll work more safely and comfortably.
Tip
Noting the inherent dangers of disturbing lead paint in any way, the EPA offers enclosure as one method for reducing exposure to lead paint. Enclosure can be done by covering walls or woodwork with additional drywall or aluminum or vinyl cladding, then sealing the seams tightly to create a dust-proof seal.


