


I know I am not alone when I reach underneath the kitchen sink to grab what I need as quickly as possible to avoid seeing the complete mess that lives there. Organizing this space can seem intimidating, but his simple tutorial will show you how to get your situation neat, under control and even looking cute using items from the dollar store!
Follow along to see how I transformed this…
Video of the Day
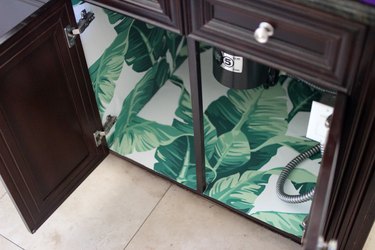
…into this!

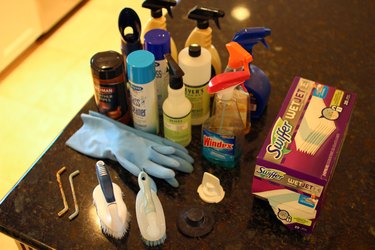
Things You’ll Need
-
Wallpaper or contact paper
-
Wallpaper adhesive & paintbrush (if you're not using self-stick paper)
-
Tape measure
-
Scissors
-
Shower dowel
-
Storage bins
-
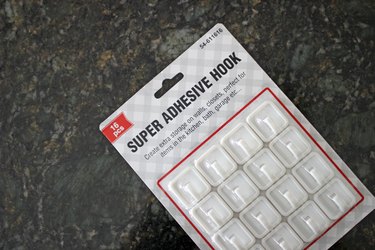
Adhesive hooks
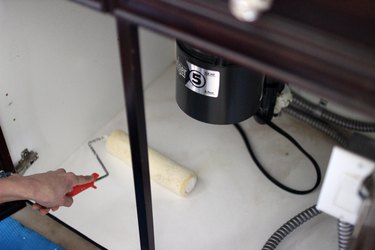
Step 1: Clear It Out & Group Items Together
Start fresh! Take every single thing out from underneath your sink and lay it out in an open space. Organize and group items to your liking (e.g. similar jars with similar jars, cleaning products together, etc.).
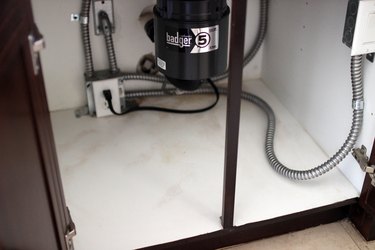
Use your preference of household cleaner to get this baby squeaky clean!
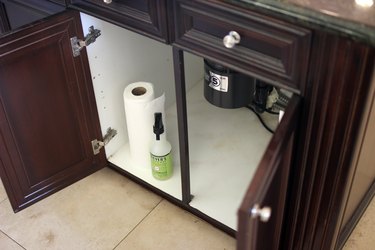
Step 2: Add Personality with Contact Paper or Wallpaper
I used some leftover wallpaper to add a pop of color. If you don't have any, your local dollar store will likely have a variety of contact paper to choose from.
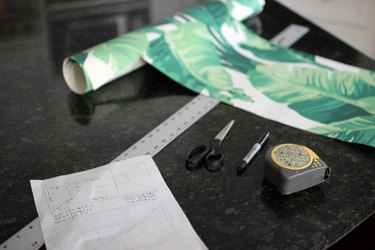
Measure the space and cut your wallpaper or contact paper accordingly. Then apply the paper (\either self-stick contact paper or wallpaper and with wallpaper adhesive) along the bottom and sides.


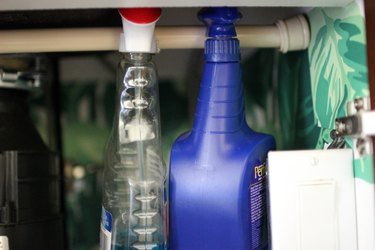
Step 3: Install Shower Dowel
Easily install the dollar store shower dowel by shimmying the bar in between the side walls and twisting until it is nice and snug.

Now you can hang your cleaning products along the dowel. How cool is this!? It gives you so much more space on the bottom for bins and containers. Can you tell I'm excited?
Step 4: Add Storage Bins
Place your bins underneath the sink.
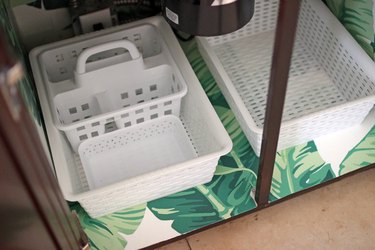
Then neatly add your grouped items and cleaning products to the bins.

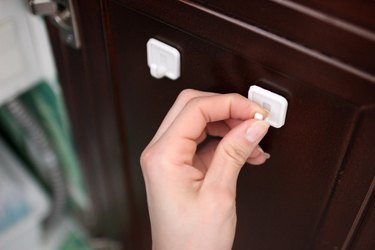
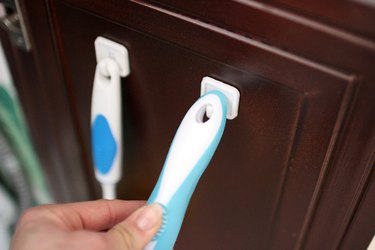
Step 5: Add Hooks to Doors
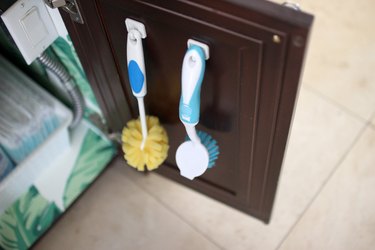
These adhesive hooks provide more storage to the doors of the space, as well as easy access to useful cleaning tools. I decided to hang two sponges and a mini broom.

I created what I call an "emergency kit" for clean ups. I used disinfecting wipes, wash rags that I may need to use for a heavier clean up, disposable gloves and some pet powder. The little basket makes it easy for anyone to grab and clean when needed!
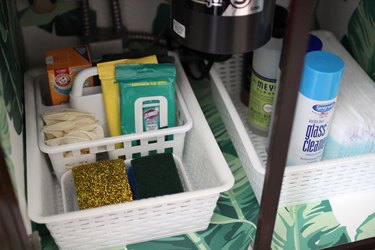
I also found a useful storage spot for the scrub brushes that I had by hooking them onto the edge of a larger bin.

What a difference! All this for less than $15.

Once you complete the first transformation, you will likely want to continue with another space like I did! Here's another under the sink space I transformed with these simple dollar store hacks.


